VMware Identity Manager(vIDM), formerly known as VMware Workspace Portal, is VMware Workspace ONE’s identity & authentication component. vIDM aims to mainly achieve two goals increasing security and improve productivity by providing Single Sign-On(SSO). Beyond providing SSO to mobile users in End-User Computing(EUC) and Bring Your Own Device (BYOD) scenarios, vIDM can be used to provide SSO for different VMware products like vRealize suite and NSX. For instance, Configuring Role-Based Access Control (RBAC) in NSX-T Datacenter is only possible through vIDM.
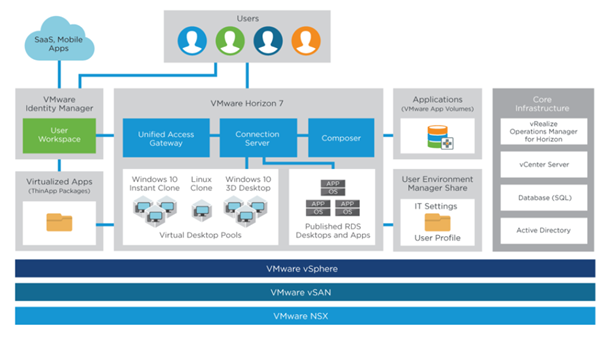
vIDM can be installed on Windows (2008R2, 2012, 2012R2 and 2016) or as an Virtual appliance on Linux (SUSE Linux Enterprise 11). In this post, I am going to describe how to deploy VMware Identity Manager as a virtual appliance and in following post, I’ll describe initial configuration of vIDM.
Before starting the deployment of vIDM , make sure the following prerequisites are configured and ready;
- One IP address for vIDM
- DNS (A-record) and (PTR-record)
- NTP configuration (vIDM is sensitive to time)
- Downloading the appliance from MyVMware download page.
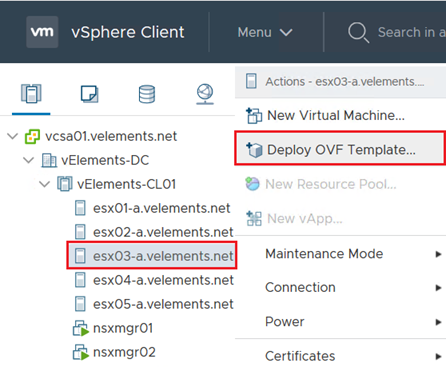
To deploy vIDM you need to right-click on host or cluster in vSphere Client and choose “Deploy OVF Template”
On the first page, choose vIDM OVA file that has been downloaded from VMware’s website.
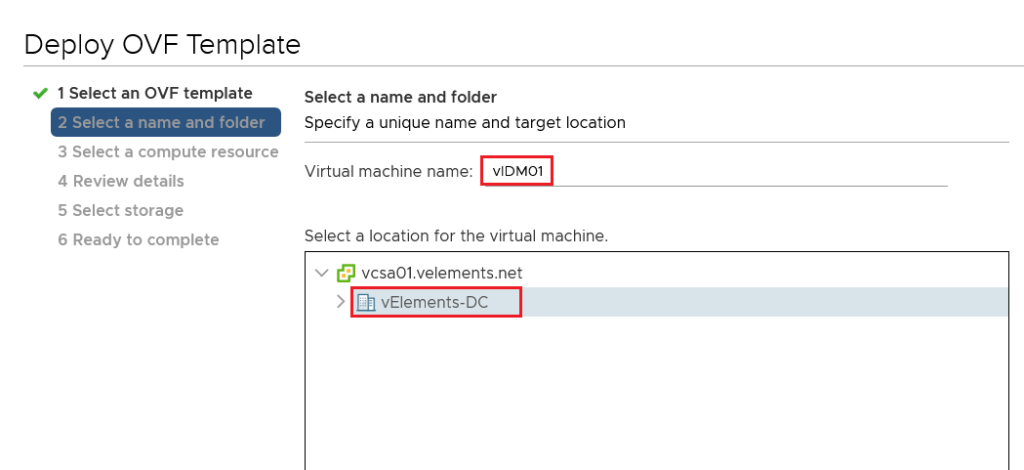
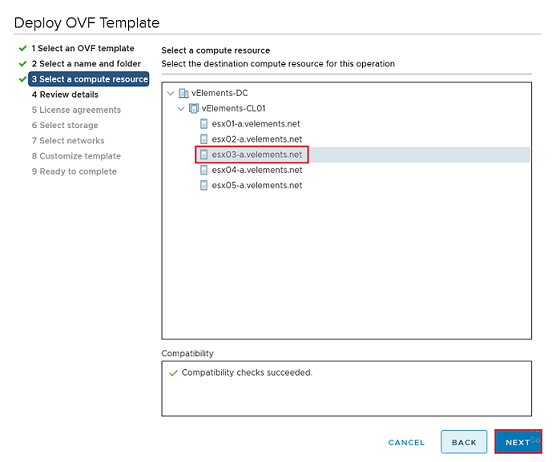
Choose a Choose a name for vIDM’s appliance and location for deployment and click Next and then choose a compute resource and click Next

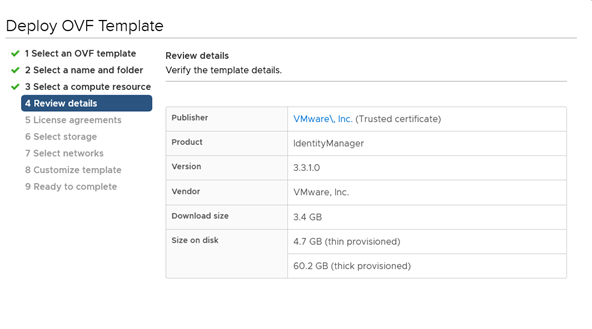
Review the template deployment details and click Next.
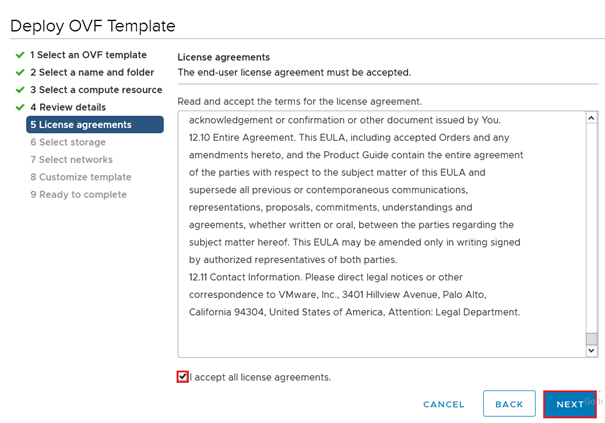
Accept the license agreement and click Next.
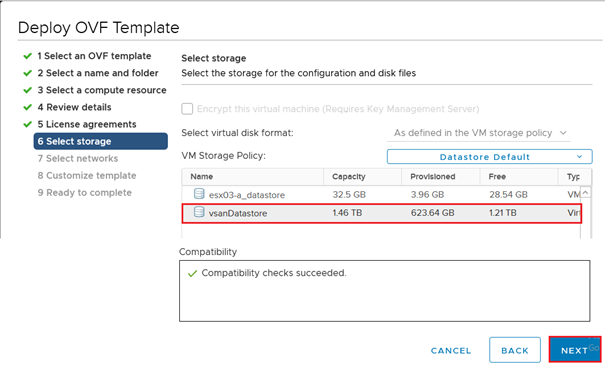
Select a datastore for storing the vIDM and click Next.
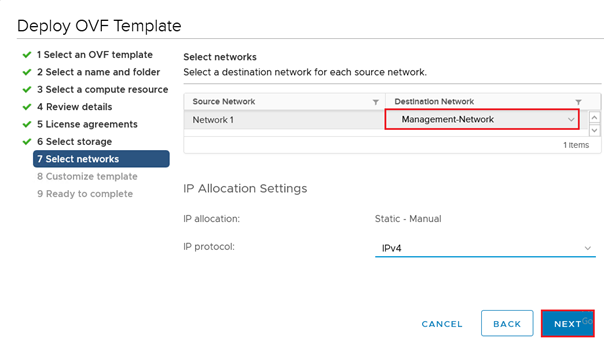
Choose a Network and click Next.
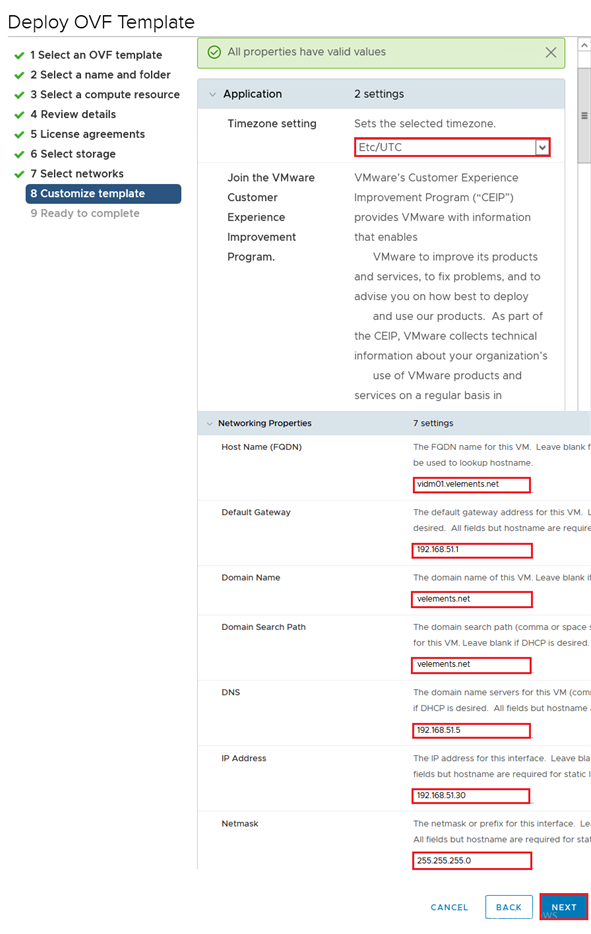
Customize the template with entering the Timezone, hostname, IP address and other required configuration and click Next.
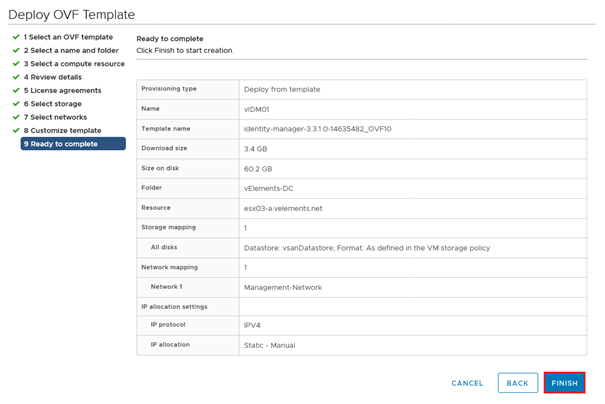
Click Finish to complete to start vIDM appliance deployment.
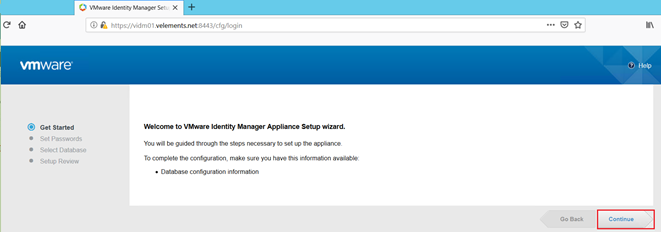
Once the deployment finished, power on the VM and connect to vIDM through https://FQDN:8443 and start the setup wizard.
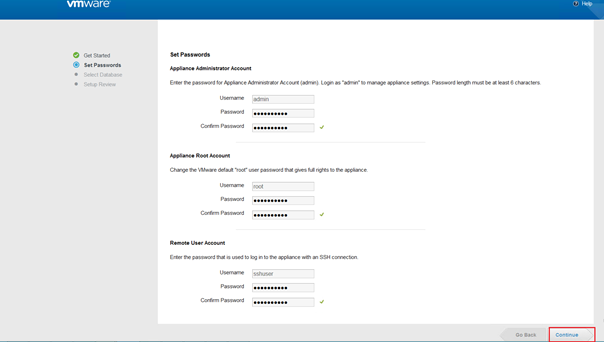
First you need to set three different passwords, with at-least 6 characters with uppercase, lowercase, special character and numbers for security reasons.
- Admin password for appliance settings.
- Root password which has the full right to the appliance.
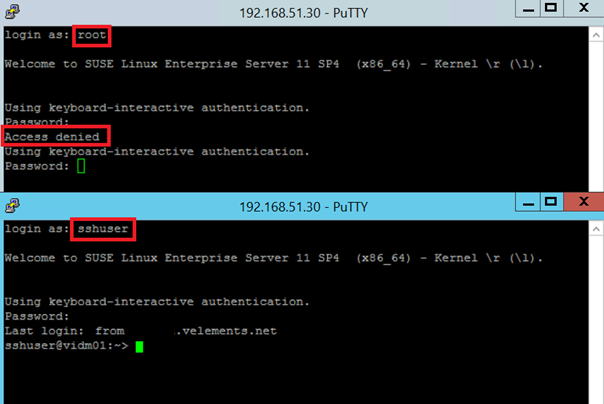
- SSH password to login with sshuser which is the only user that you can use to connect the appliance through SSH.
SSH to vIDM with root user and sshuser.
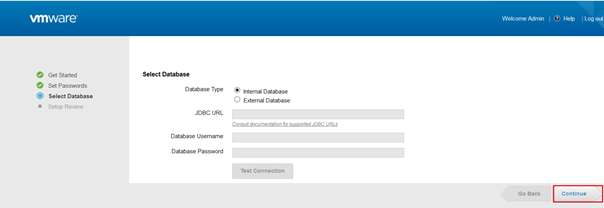
vIDM has an embeded Postgres.SQL database that you can use for deployment in test enviroments, for sake of high avalibilty it is a best practice to use external database to connect to vIDM. Although, in this senario I used the defualt interal Postgres database.
Once the configuration of Database get finished. It confirms the setup complete and you will be able to login to administration page.
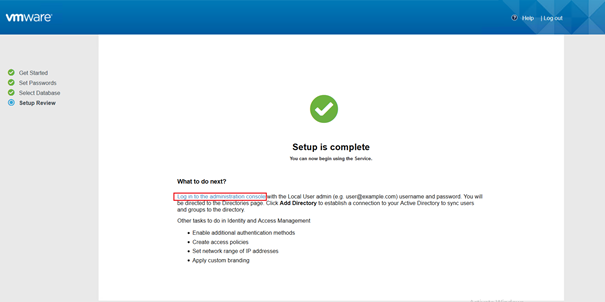
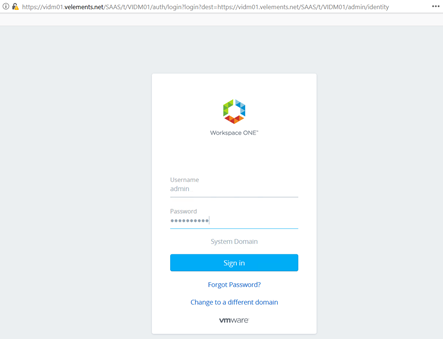
By clicking on the link you are going to redirect to Workspace ONE authentication page and you need to login with admin and the password that has been previously sat.
In the next blog post I’ll describe initial configuration of vIDM and how to configure NSX-T to use vIDM for Role based Access Control (RBAC).
vIDM need to deploy using OVA OR Should we have single vIDM deployment using vRSLM in VCF 4.0?
You can deploy vIDM both from an .ova template or using vRealize Suite Lifecycle manager in VCF.
To downlod vIDM, you can visit this page.
https://my.vmware.com/group/vmware/details?downloadGroup=VIDM_ONPREM_3310&productId=673&download=true&fileId=d30a15f29f719c4668e497ed16fa32a3&secureParam=2dc504fbe99741a2c5e8af7eaeb463f9&uuId=39d06016-e040-44f7-ad81-e7bd7c125aeb&downloadType=