NSX-T Distributed Firewall (DFW) is one of the most comprehensive solutions to provide micro-segmentation from layer 4 to layer 7. It can monitor all the East-West traffic on your virtual machines and build a Zero-trust model. To leverage the DFW, vNIC of virtual machines need to connect to NSX-overlay segment, NSX VLAN backed segments or vDS port group supported from vSphere 7.0. The benefit of using DFW is that firewall rules apply at the vNIC level of virtual machines. In this way, traffic does not need to traverse to a physical firewall to get identified if the traffic can pass or drop, which is more efficient. This article will focus on using DFW to enforce L7 (FQDN/URLs) filtering.
You can give internet access to a VM or a user who login to a VM by Identity Based Firewall or even take one step further and control which specific URL/URLs are allowed to get accessed.
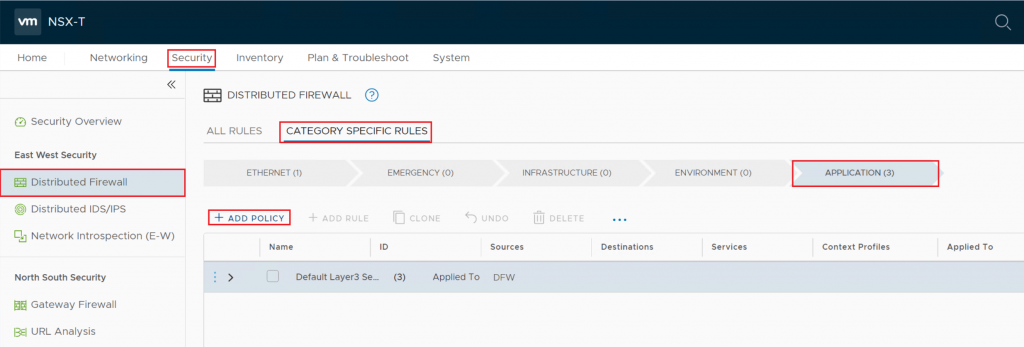
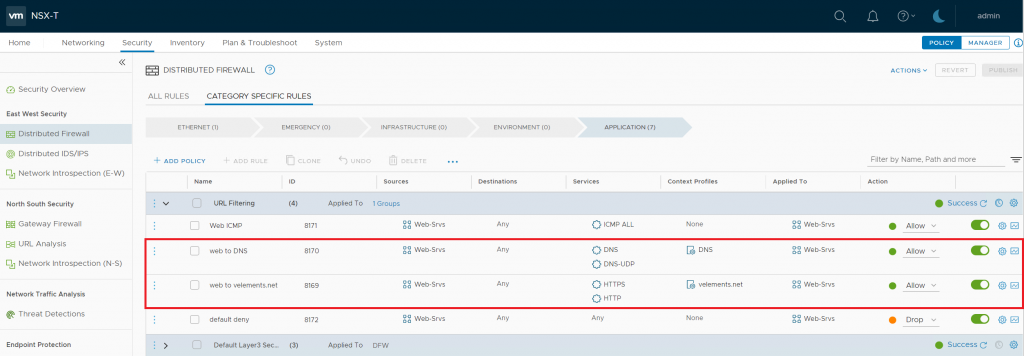
An URL-based firewall rule is configured by the use of a Context Profile. But it would be best if you created a DNS rule first since NSX-T leverages DNS Snooping to map IP and FQDN. The important note is the actual firewall URL allow/deny rule should be below the DNS rule and thus has a lower priority. DNS Snooping happens by replacing the desired IP address with the original IP so NSX-T could go further with the URL filtering. As a result, DNS snooping should be enabled. To create URL based firewall, you need to log in to NSX Manager administration GUI. Navigate to Security > Distributed Firewall Rule > Category Specific Rules > Application.
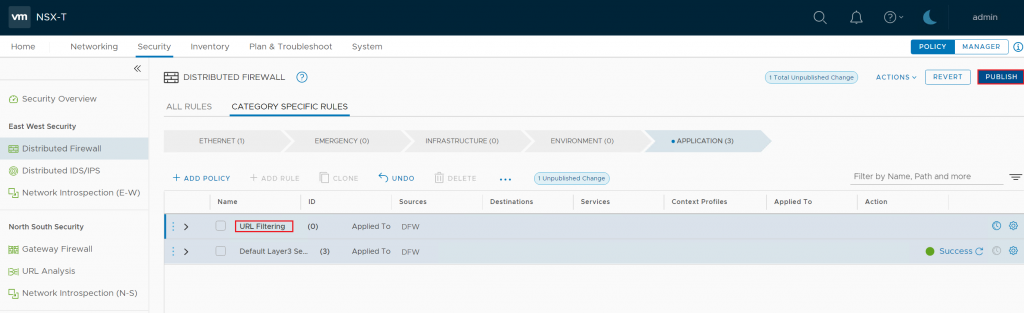
Here you can create a new policy or alternately open an existing one.
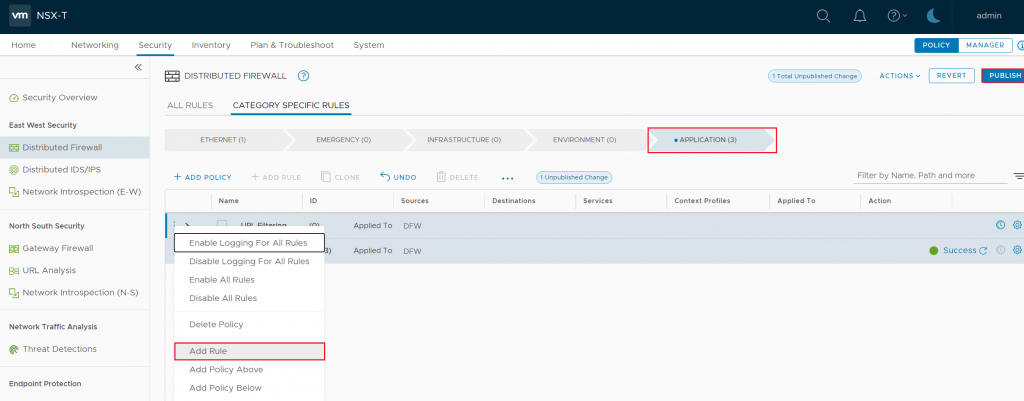
Right Click on the policy, choose Add Rule > Create a New Rule and name the rule.
Select the Source you want to give URL-based internet access. In my case, I have created a security group and added my Web servers. Then you need to specify the DNS service and also choose DNS as a context profile.
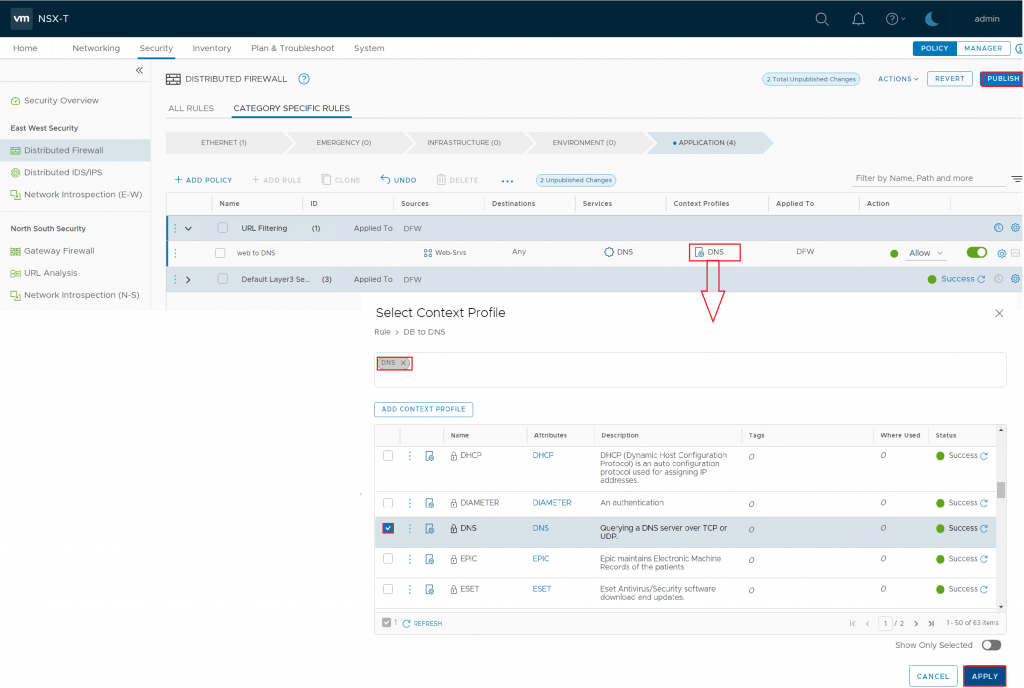
The first line is only for the DNS to map the IP and FQDN. In the the second line, you specify the URL you want to access.
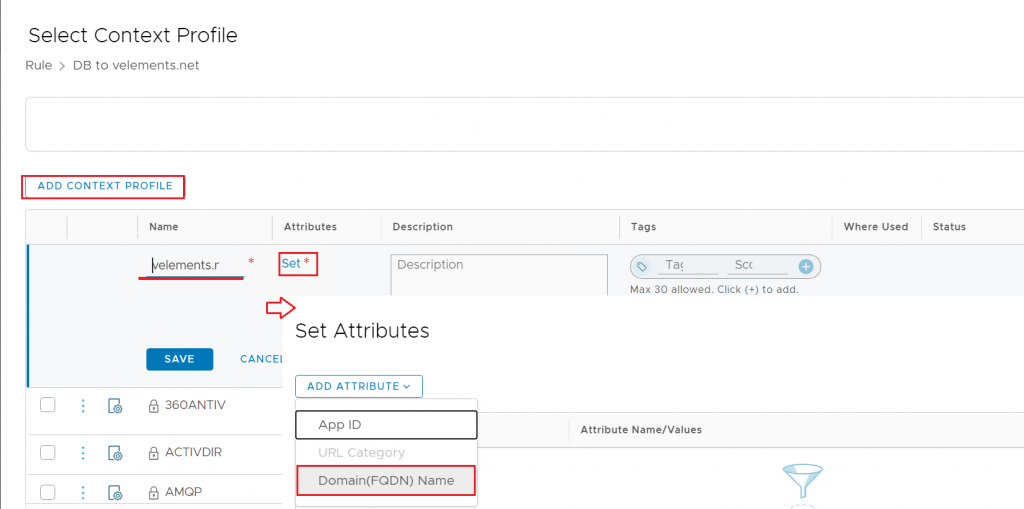
So, once again, right-click on the policy and choose add rule > specify the source and Choose the Context profile. This time you need to create a “Domain (FQDN) Name” context profile. Add Context Profile> Choose a name > Click on Set > Add Attribute> Domain FQDN Name.
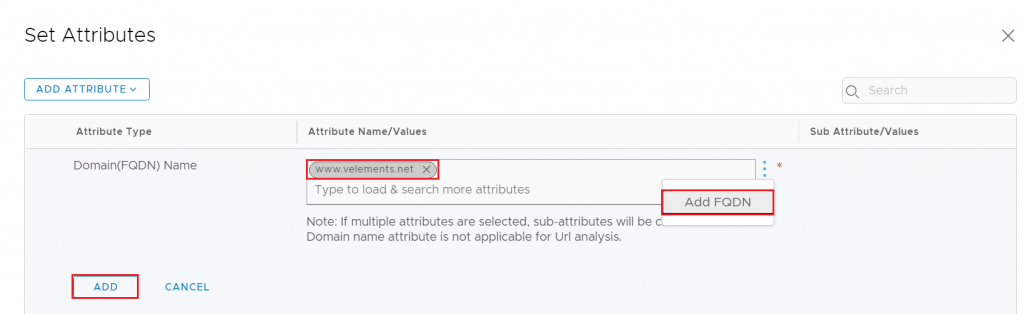
Here you can choose the well-known website or click on the 3 dots> Add FQDN > write your specified website > Add and Apply.
Here, in my example to show the filtering is working fine, I have written a deny-all rule at the bottom of the policy to drop all other traffic except the one I have specified. After adding the FQDN in the rule and publishing the DFW rule, the machine you have applied the rule should only reach the added website through a browser.
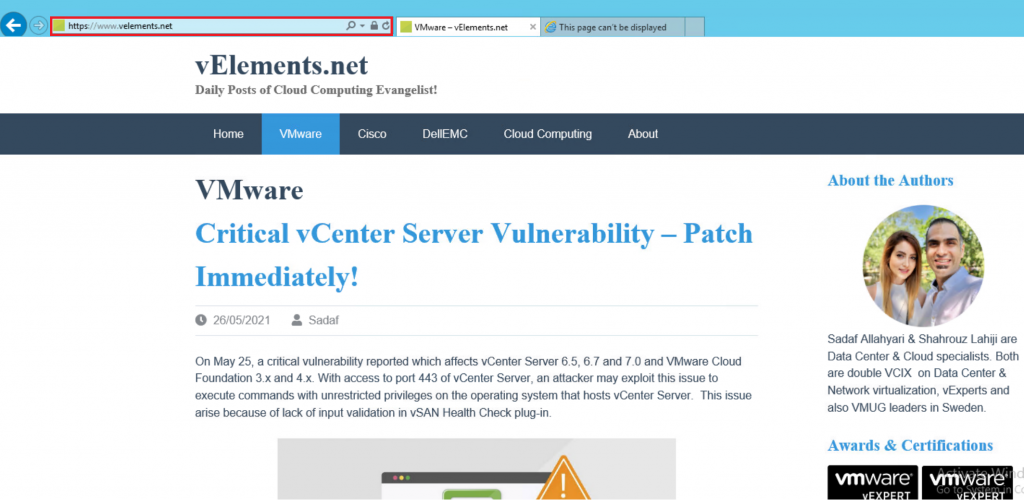
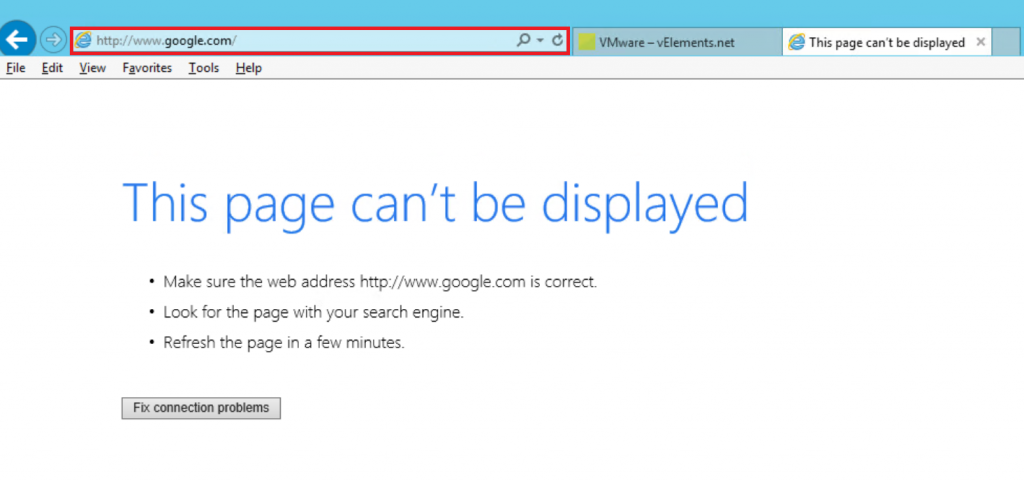
I have specified my Web Server to be able to open velements.net and as you can find in the below picture www.google.come or any other websites are not reachable.
FQDN/URL filtering is a handful tool to monitor the traffic at layer 7 and allow or drop the traffic accordingly. Having said that, FQDN-based rule would remain in the case of vMotion.